Branding replaces Content Snare's default look with your own logo and two brand colors on every request your clients open. Your clients see your logo and colors, so the request looks like it came from you.
Branding and your plan
Branding isn't part of the Basic plan. It's included on every paid plan from Plus up, and you also have it throughout a free trial.
On Basic the branding page still opens, but its logo, color and text controls are switched off, and the notice Your plan does not support company branding.
shows instead. That's expected, not a fault. To turn branding on, change your plan.
If you move down to Basic, or a trial ends there, your logo stops showing to clients. Nothing you set up is deleted, and it all comes back the moment you move to a plan that includes branding.
Open the branding settings
Branding sits in your company settings, so only an Administrator can open it. If you're on another role you won't see Company in the settings menu, and you'll need an Administrator on your team to make these changes.
- Click your avatar in the top right and choose Settings.
- In the menu on the left, open Company.
- Open Branding.
This article covers Logo & colors, where you set your logo and colors, and Custom text, where you rename the wording clients see. Email domain is a separate job. To send client emails from your own address rather than Content Snare's, see send email from your own domain.
Rename the wording inside a request
The Custom text tab changes Content Snare's own wording on the buttons, links, headings and status messages inside a request, so they match what your organization calls things. If your clients are used to sending work for approval rather than submitting it for review, this is where you change the word.
Your wording shows for your clients and for your own team. It doesn't change the emails Content Snare sends.
Eleven pieces of text can be renamed. They are the buttons used to move through a request, including Submit for Review, Submit Page for Review, Revise and Ask A Question, the links Continue to next question and Save draft and continue, the button that starts a request from the instructions page, and the headings and status messages along the way, including Unsubmitted Answers.
One of them doesn't always appear. Ask A Question is the label on the comment button only for a client, and only until that question has its first comment. After that, and on your side of a request at any time, the same button reads Comments, which isn't one of the eleven and doesn't change.
To rename one:
- Click your avatar in the top right and choose Settings.
- In the menu on the left, open Company, then Branding.
- Open the Custom text tab.
- Find the piece of text you want to change and type your wording into its Override text box.
- Click Save.
A Preview under each one shows your wording in your own brand colors, the way it will appear in a request. Leave a box empty and the preview shows Content Snare's original wording, because that's what gets used.
Most of these take up to 60 characters. The two longer messages, the heading and subtext a client sees when a page still has something left to do, take up to 120.
Renaming Unsubmitted Answers also renames the shorter "Unsubmitted" label that appears elsewhere in the request. Both come from the same setting.
Go back to Content Snare's wording
Clear the Override text box and click Save. An empty box means Content Snare's original wording, so there's no separate reset to press.
Different wording for clients in other languages
You can set different wording for each language. Click Add Language, choose the language and type the wording for it. The Default (all languages) row covers every language you haven't set wording for.
Remove a language's wording with the Remove button on its row. The Default (all languages) row has no remove button, so clear it instead.
Add your logo
Open the Logo & colors tab, then click the upload box or drag your logo file onto it. You can upload a PNG, JPG, JPEG, GIF, WebP, TIFF or AVIF file. Aim for roughly a 3:1 width-to-height ratio, and make the logo at least 320 pixels wide, so it fits the space it's shown in.
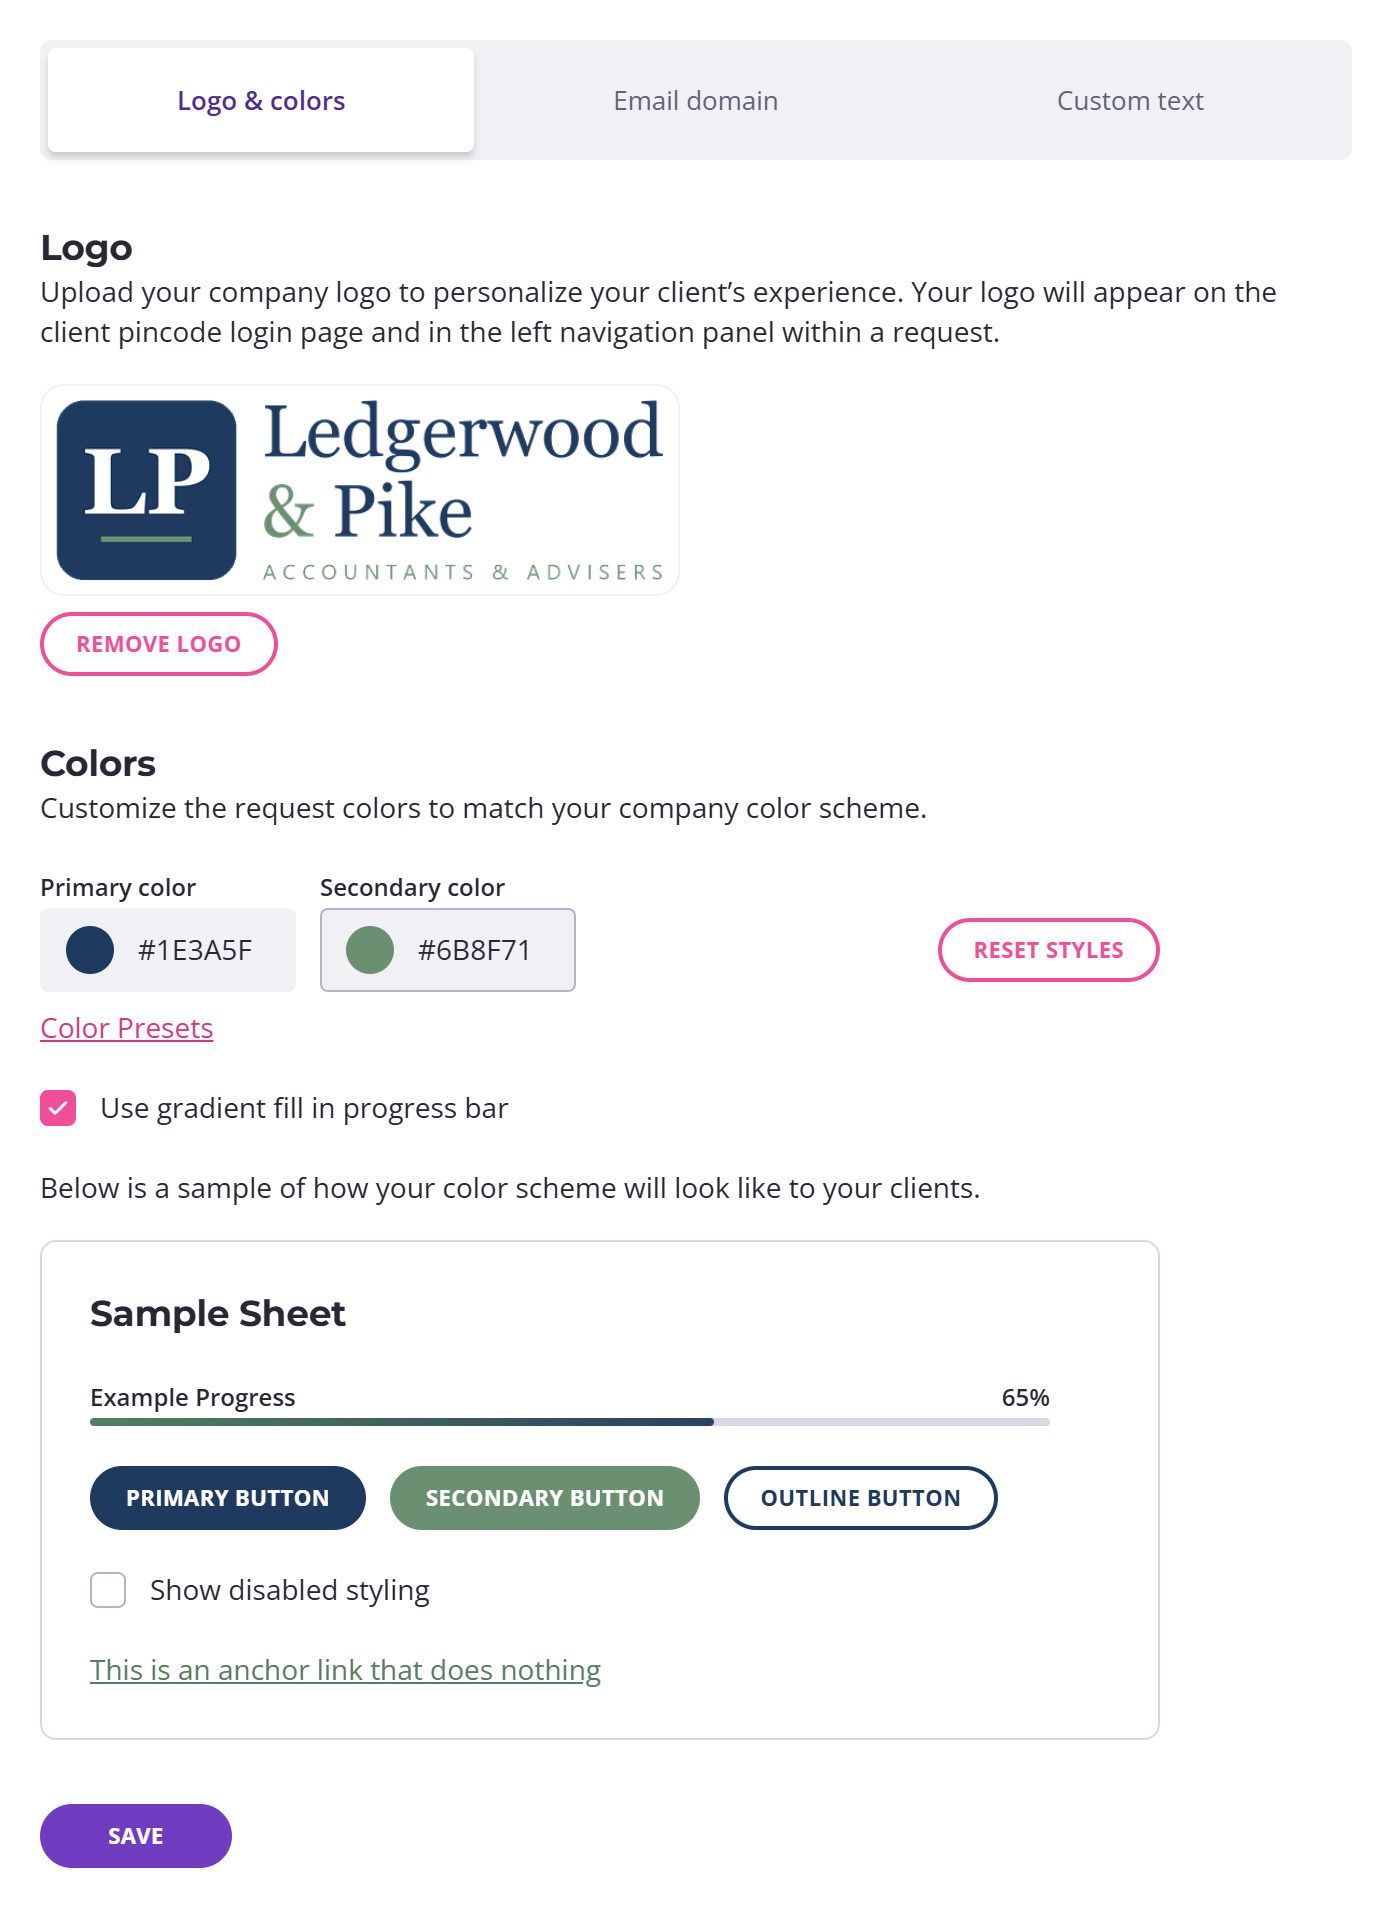
Your logo applies as soon as you upload it, so there's no separate step to save it. To take it down, click Remove Logo and it's removed straight away.
Clients see your logo on the PIN login page when they access a request by PIN code, and in the left navigation panel once they're inside the request.
Set your brand colors
On the same Logo & colors tab, set a Primary color and a Secondary color, or start from a ready-made scheme under Color Presets. A preview below the fields shows how your choices will look to clients.
Your two colors also blend into a gradient across the progress bar clients see in a request. If the gradient doesn't look right, untick Use gradient fill in progress bar and the progress bar shows as one solid color instead.
If a color is too light to read on a white background, Content Snare shows the warning The selected color scheme may be difficult to see on a white background.
You can still save that color, but a darker one is easier for clients to read.
To drop your changes and go back to the default colors, click Reset Styles.
Unlike the logo, your colors don't take effect until you save them. Click Save once you're happy with them.
The text color on buttons inside a request adjusts automatically based on your primary color, so you don't need to set it separately.