The following is an overview of the Zap:
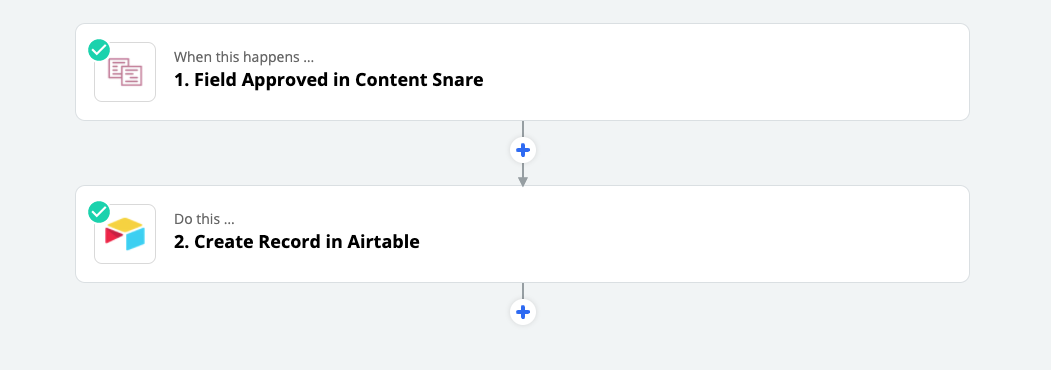
Here's how to set it up:
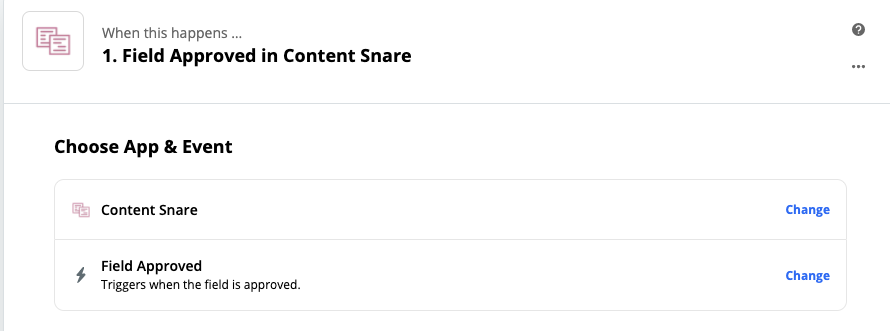
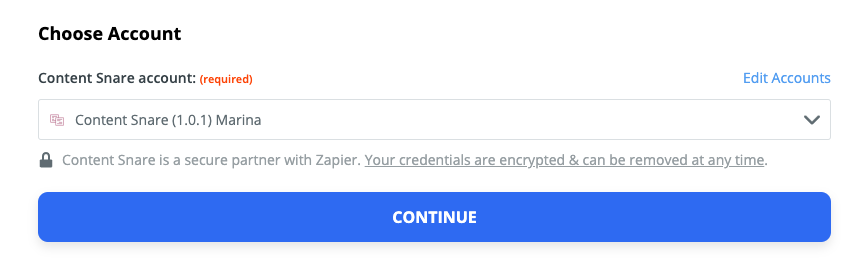
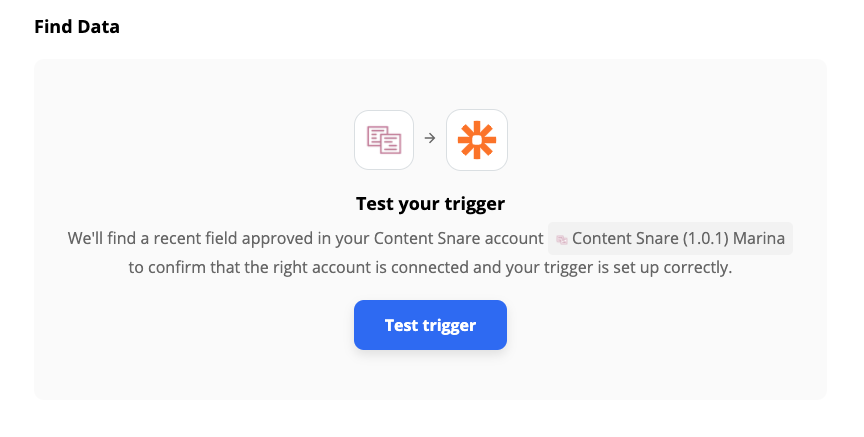
For the trigger, choose Content Snare, select field approved from the list of triggers, sign into your account and then test that the trigger works correctly.
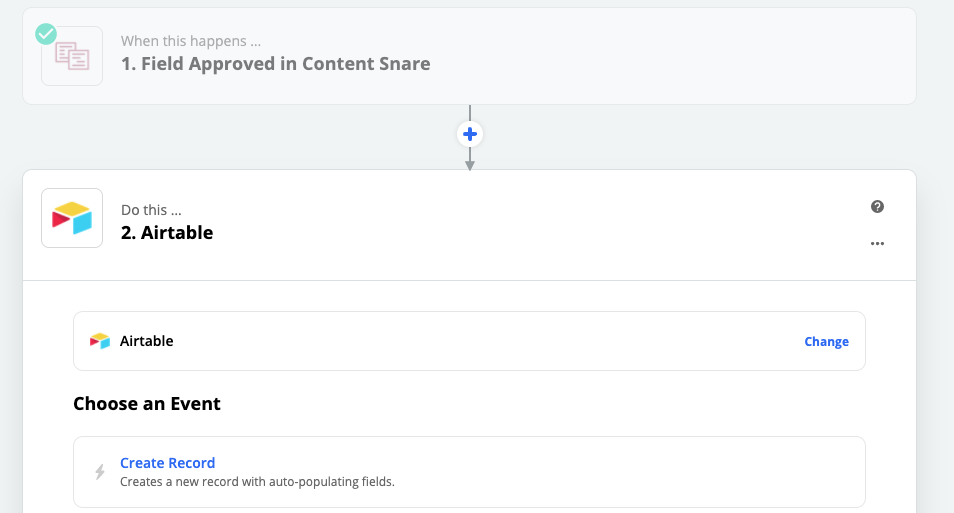

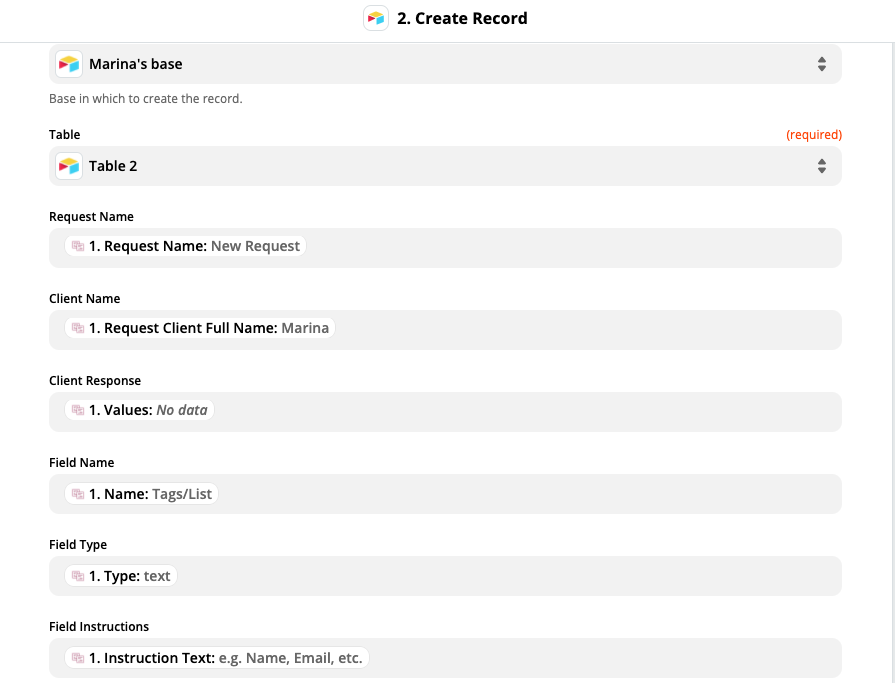
Then select Airtable for the action, choose create record as the event and sign in. From there, within Airtable, create 6 headers (you can make more if you'd like more information regarding each field for this Zap): Request Name, Client Name, Field Name, Field Type, Field Instructions and Client Response.
The next stage, once you've chosen your base and table, is to match those headers to things within Content Snare, which you can choose from a drop-down each time. The final screenshot above shows what corresponds to what when you're creating your Zap.
Then, once the Zap's been tested, it's ready to turn on and go! To show what translates across to Airtable, here are two fields approved in Content Snare:
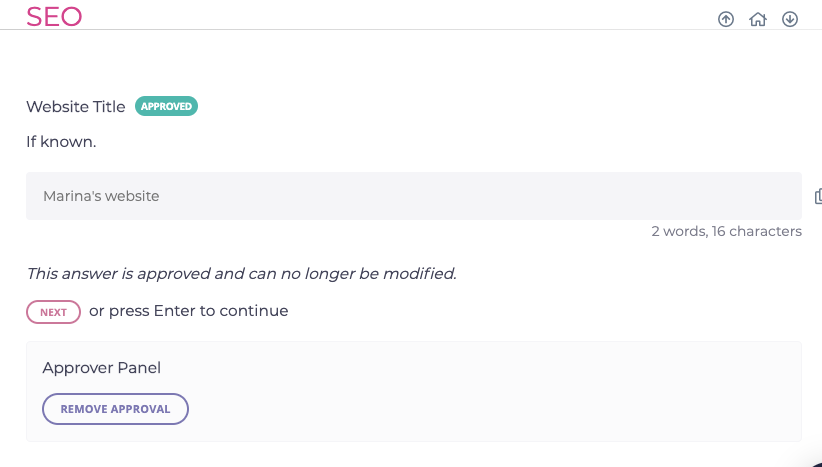
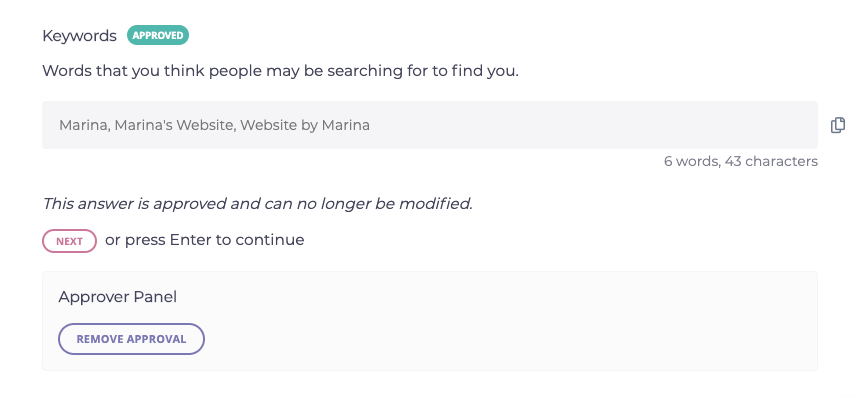
You can see how they've appeared within Airtable among some other fields approved for this request!
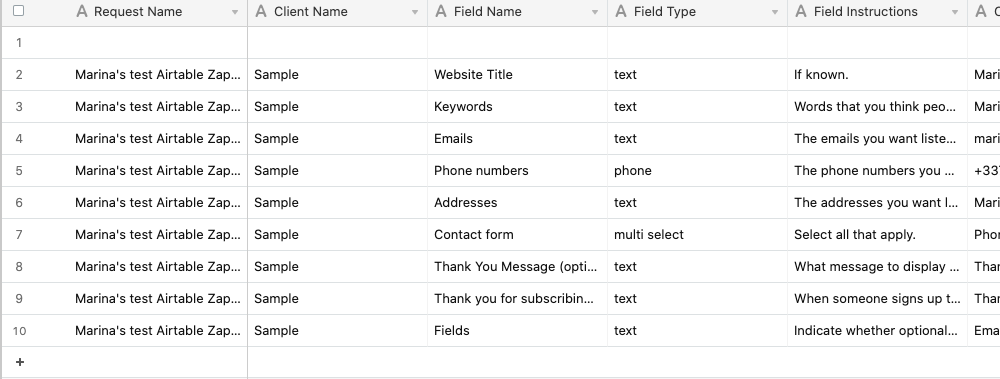
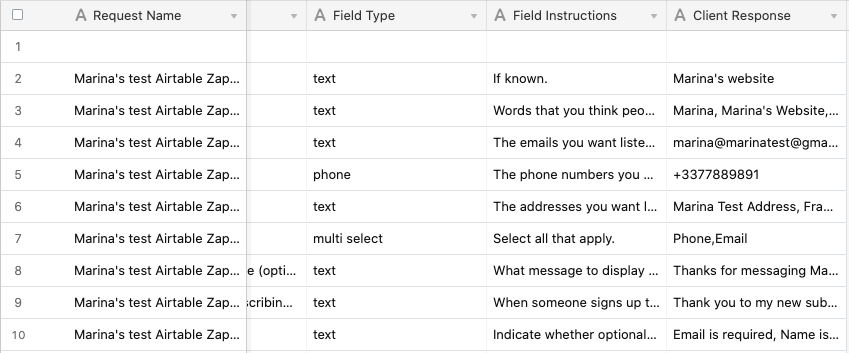
As you can see, you get those 6 headers mentioned earlier, most importantly client response there at the end. With this Zap, it's all there and laid out clearly!