What closing client access does
If you switch on Close client access after the due date, your client can open the request until its due date, and then their access closes. The request moves to the Expired status. Your team keeps everything your client sent, and the request stops counting toward your plan's active requestA published request. limit.
It's off by default, and you switch it on for each request. If you duplicate the request or save it as a template, the copy keeps the setting. Use it for a deadline that can't move, or to stop requests a client never finished from using up a plan slot.
When access closes
A request expires on its due date, at the time of day you first published it, in your organization's time zone. Publish at 10am on March 3 with a due date of March 17, and your client loses access between 10am and about 10:15am on March 17.
An Administrator can check or change the time zone: click your avatar in the top right, choose Settings, then Company, then Language and Regional, and look at Time Zone.
If you schedule a request to go out later, check the due date again after you pick the send date.
Switch it on
When you send a request
- Click New in the top right, then Request, and build the request as usual.
- Go to the last step, Finalize, where the page is headed Publish Settings.
- Switch on Close client access after the due date, below Protect with a pin code.
- Check the due date under When is the request due?, or Select the due date if you're sending it on a specific date.
- Publish the request.
Send a request covers the rest of the publish settings.
On a quick request
- Click New in the top right, then Quick request.
- Pick the template and click Next.
- Fill in the details, including the due date.
- Switch on Close client access after the due date, below the due date.
- Click Publish, or Schedule if it's going out later.
On a recurring or bulk request
- Click New in the top right, then Recurring/bulk request. To change one you already have, open Requests, go to the Recurring/Bulk tab and click Edit on it.
- Go to the last step, Finalize.
- Under Client Settings, switch on Close client access after the due date.
- Click Save and Activate, or Update settings on one that's already running.
Every request it creates after that has the setting on. Standard Request Duration (in days) sets each one's due date, and so the day its access closes. Requests it created earlier keep the setting they had.
If Leave requests as drafts when created is on as well, each draft closes on its due date at the time of day you publish the draft. Before you publish a draft, check its due date. It has to be today or later.
On a request you've already sent
- On the Requests list, click the three dots on the request's row and choose Edit.
- Click Finalize in the steps across the top.
- Switch Close client access after the due date on or off.
- Click Update settings.
If the request is already past its due date when you switch the setting on, access closes within about 15 minutes.
What your client sees
Until access closes, the request works as usual. If the deadline can't move, say so in the request's instructions so your client knows to finish in time.
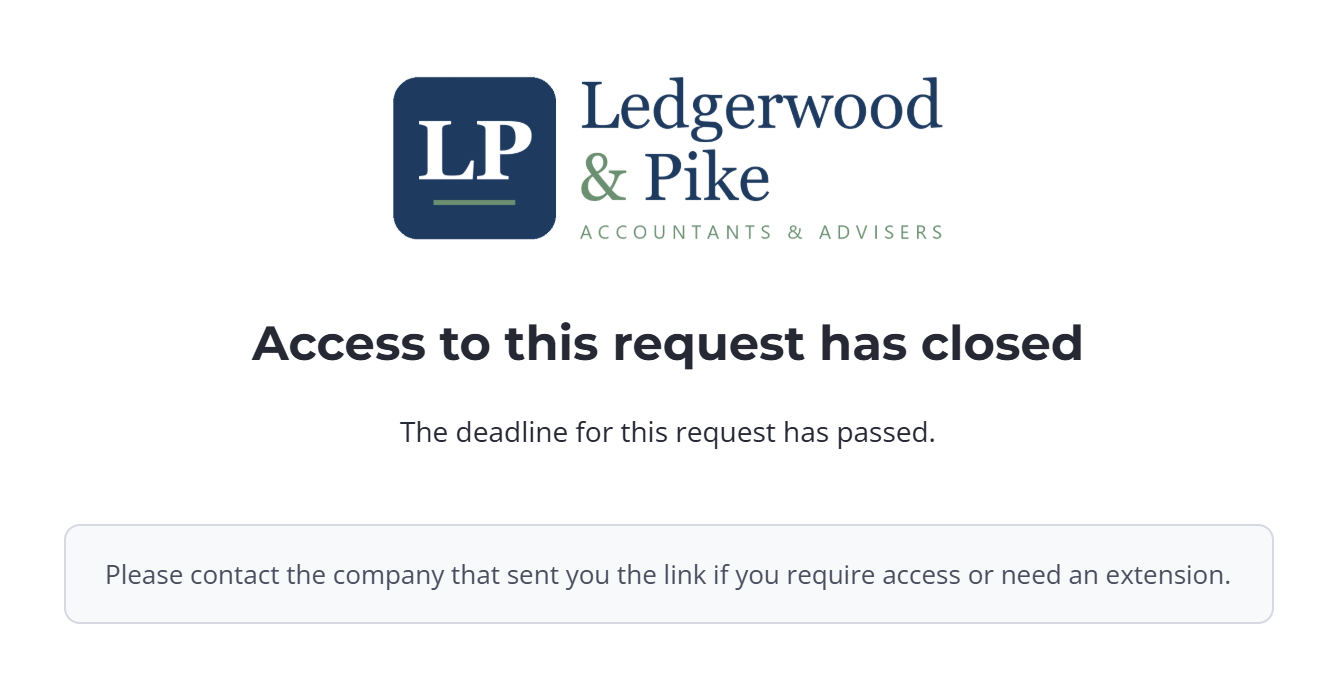
When access closes, their link opens a page headed Access to this request has closed
. It tells them the deadline has passed and asks them to contact you if they need access or an extension. From then on:
- They can't download the request, even if you let clients download completed requests. Any download link they already have stops working.
- The request no longer appears in their client portal.
The closing email and reminders
When access closes, your client gets the email your schedule sends them on the due date. In the Default schedule that's Due Today, which tells them access has closed. It goes out when access closes instead of at its usual time, whether or not your client has finished.
Other reminders change too:
- Client reminders timed before access closes go out as usual.
- Client email and SMS reminders timed after it stop, including Overdue reminders.
- Reminders to your team stop once the request has expired.
If the request's schedule has no client email on the due date, your client isn't emailed when access closes. The built-in No automatic reminders schedule doesn't have one. Pick a schedule that has one, like Default, if you want them told. Reminder schedules shows what each schedule sends.
If your due-date email is edited or custom
If you've edited the Due Today email, or your schedule sends a different email on the due date, that email goes out with your own wording and won't say that access has closed. To add a closing message, open the template and wrap your usual wording in a condition:
{% if request.will_expire %}
The deadline for {{request.name}} has passed and access has now closed. Get in touch if you need more time.
{% else %}
Your usual Due Today wording.
{% endif %}
request.will_expire is true only on the closing email, so every other request gets your usual wording.
When you edit it:
- Type the tag in yourself. The variables list doesn't include it.
- Preview Email always shows the
{% else %}wording, so you won't see the closing message there.
Expired requests on your list
An expired request shows an Expired badge. To see them all, open Requests, click the Status filter and choose Expired. The Complete filter leaves them out.
Your team can still open an expired request, review its answers, export it, edit it and run its integration actions by hand. A request that was Waiting when it expired shows as Expired, with its unreviewed answers still there.
The Audit Trail records each expiry as A request expired. Content Snare doesn't email your team about it, so use the Expired filter to keep track. Request statuses explains how Expired fits with the other statuses.
Request completed automations don't run
Expiry doesn't complete a request, so nothing that waits for completion runs:
- The Request Completed webhook, and any Zap that starts when a request is completed.
- Integration actions set to run when the request is completed.
- Cloud storage uploads held until the whole request is complete, and auto-export on completion.
To act on an expiry instead, add the Request Expired event to a webhook. Like Request Completed, it sends the whole request with its answers.
If you need those completion steps to run, publish the request again and then complete it. Your client can get back in until you complete it, and the request uses a plan slot in the meantime.
Extend the deadline before access closes
Move the due date later while the request is still open, and access closes on the new date instead, at the same time of day.
- On the Requests list, click the three dots on the request's row and choose Quick settings.
- Pick a new date under When is the request due? and save.
If you move the due date to today after that time of day has passed, access closes within about 15 minutes.
Once a request has expired, a new due date isn't enough to reopen it. It stays Expired until you publish it again.
Reopen an expired request
To reopen an expired request, publish it again with a new due date. Restore to published is for completed requests.
- On the Requests list, click the three dots on the request's row and choose Publish. Or open the request and choose Publish request from its actions menu.
- Pick a new date under When is the request due?, or Select the due date if you're sending it on a specific date. Choose a date after today. With the setting still on, a due date of today can close the request again within about 15 minutes.
- Click the publish button. It reads Publish or Publish & Send, depending on the schedule, or Schedule if you pick a later send date.
To leave it open with no cutoff, switch off Close client access after the due date on the same screen before you publish.
The request goes back to Published and your client's link works again.
- It uses a plan slot again, so if you've hit your active request limit, free one up first.
- Let your client know it's open. Send them a message with the new due date.
- If the setting is still on, access closes on the new due date at the same time of day as before.
- Reminders timed from publishing still count from the first time you published it. Reminders timed from the due date count from the new one.